Bestelling (Order)
{{ item.name }}
{{ item.quantity }} x {{ item.attributes.friendly_price }}
With this simple step-by-step plan you can create a QR menu in just a few minutes.
Create an account on our website. You'll receive an email with your login details
(note that this email may end up in your spam folder).
Click the "login" button to access your dashboard. For this tutorial, leave the language set to English.
Easily manage all aspects of your digital menu here. Add new dishes, adjust prices, and update photos in real time—any changes you make are instantly visible via the QR code in your restaurant.
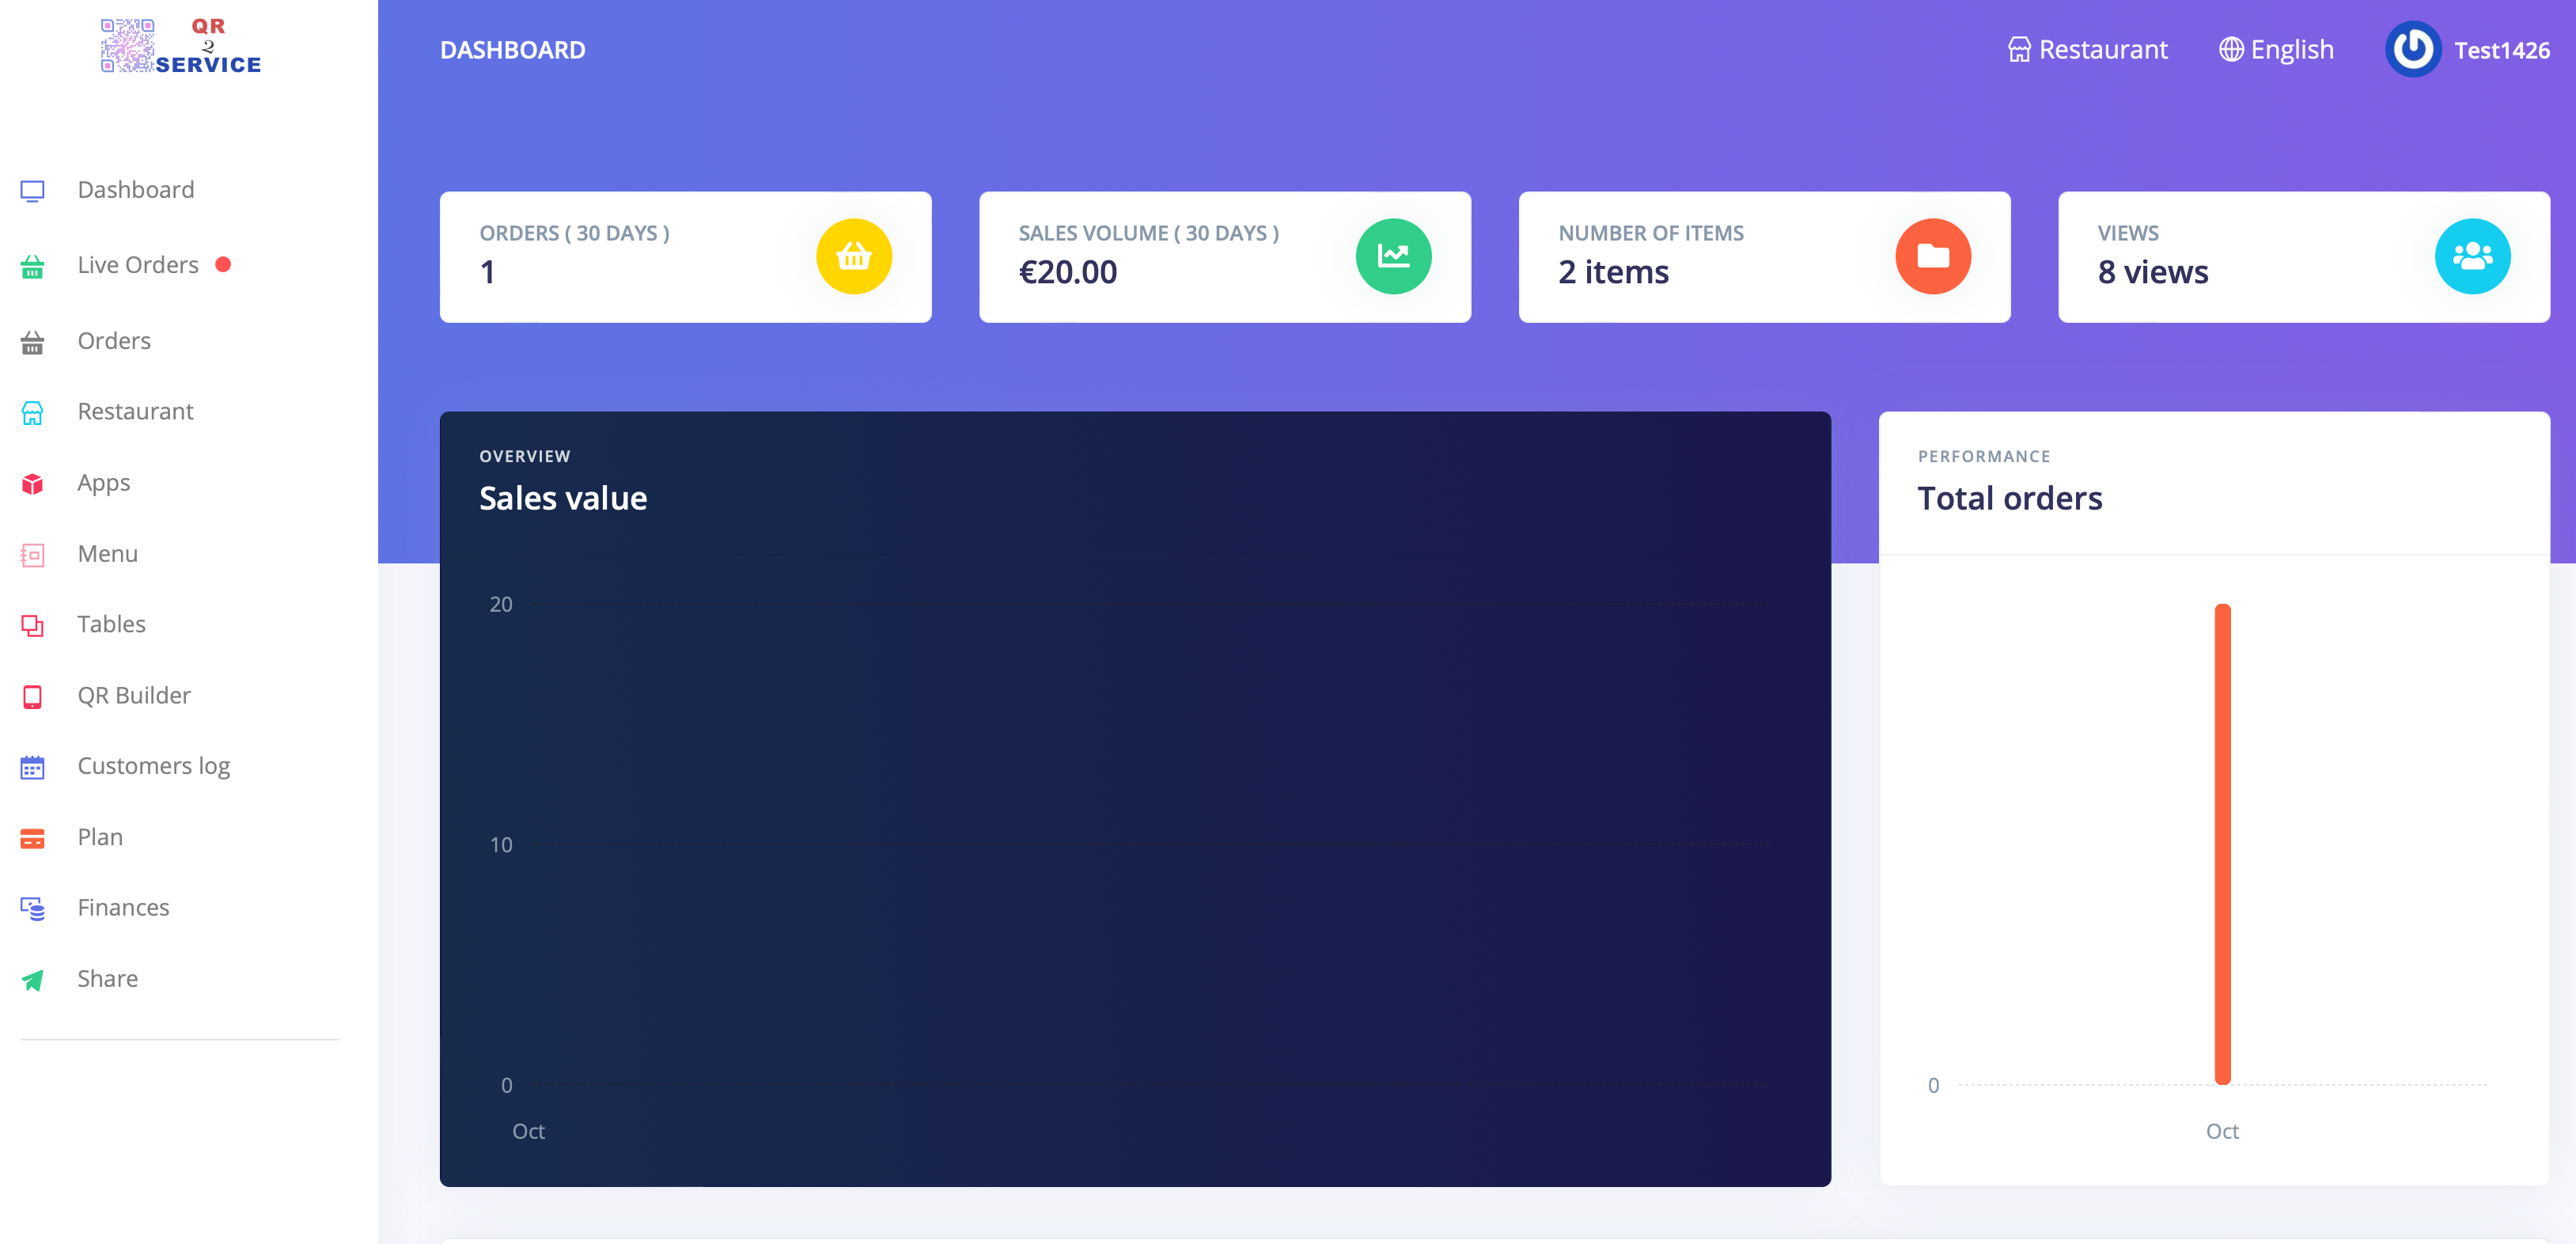
1. Dashboard : Provides an overview of the number of orders (last 30 days), revenue (last 30 days), number of menu items, and the number of times the digital menu has been viewed. In the top right corner, you can select the language (English by default), and via Restaurant you can see the webpage/QR menu.
2. Live Order : Also called KDS (Kitchen Display System), here orders are displayed in real time.
3. Order : Provides an overview of placed orders and the order history.
4. Restaurant : Here you can enter the restaurant's details. Sales options include takeout, delivery, or dine-in. You can also enter the opening hours and location (displayed via Google Maps).
5. Apps : There are several extensions available, which are made available here by QR2service.
6. Menu : Here you can create the menu.
7. * Tables : Here you can create a map to connect QR codes to tables.
8. QR Builder : Here you can create and customize QR codes.
9. * Customers log : reservations can be kept track of here.
10. QR Builder : Download the created QR code.
11. * Share: Here you can enter your social media links.
*Optional
1. Select [Restaurant] and fill in the following information:
2. Choose the offer options:
3. Images:
Add 2 images:
Note: It's important that these images have the correct format and file size. This ensures the QR menu loads quickly.
You can edit images using this handy, free online tool:
www.online-image-editor.com
If this doesn't work, please email us, we're happy to help!
1. Select [Menu]

2. Here the menu can be created.
3. Click [Add new category] and give the new category a name, click [Save]
4. Select [Add item] and give the item a name, description, price, and upload a photo. Click [Save]. (Keep the file size around 200 KB for fast loading times.)
Tips: The following websites can be helpful for finding images:
https://pexels.com/nl-nl/
https://unsplash.com/
https://pixabay.com/nl/
Also search for vector images
5. Click on the image of the created item.
Below is an example of some ordering options:
This is what the order options look like on the front end:

And so to the "backend" side of the website/qr menu.
Variants:
A demo version of this restaurant can be seen here.
Congratulations! You've successfully created your QR menu.
From now on, your guests can easily view the menu on their smartphones.
Feel free to experiment with the settings to customize everything to your liking.
Do you like our system? Then consider upgrading to the Pro version.
Go to > Dashboard > choose [Manage subscription via Mollie]
Pro version:
Payments active: via Mollie, iDeal, credit card etc. Easily create an account yourself via Mollie. This way you can manage payments safely and clearly. The costs for an iDEAL transaction via Mollie are € 0.32 per successful transaction. There are no one-time or monthly costs.
Google Translate: Automatically translates texts in more than 100 languages.
Additional extensions available:
Upon request, these options can be activated or deactivated (most of them free of charge).
Integration into your existing website is possible. Cost varies by system — email us for details.
{{ item.quantity }} x {{ item.attributes.friendly_price }}